Showing posts with label incendia. Show all posts

Monday, 14 March 2011

Incendia Tutorial

So, finally I have gotten some time on my hands and I am able to write a relatively longer blog post this time. Again, I apologize to my readers for not updating so frequently as I used to last month.

OK, so, in this one I'll be showing to those interested in fractals how to quickly make and render one with Incendia. It this tutorial I'll pretty much be covering the basics and the mandatory steps without going into much detail into the extra features of the program. Tho, later on on, if I have the time and I've decided there's enough interest on the subject, I'll make another tutorial about them too.

So the first thing you should do is, obviously download and install the newest version of Incendia (the one I'm using) and start it up.
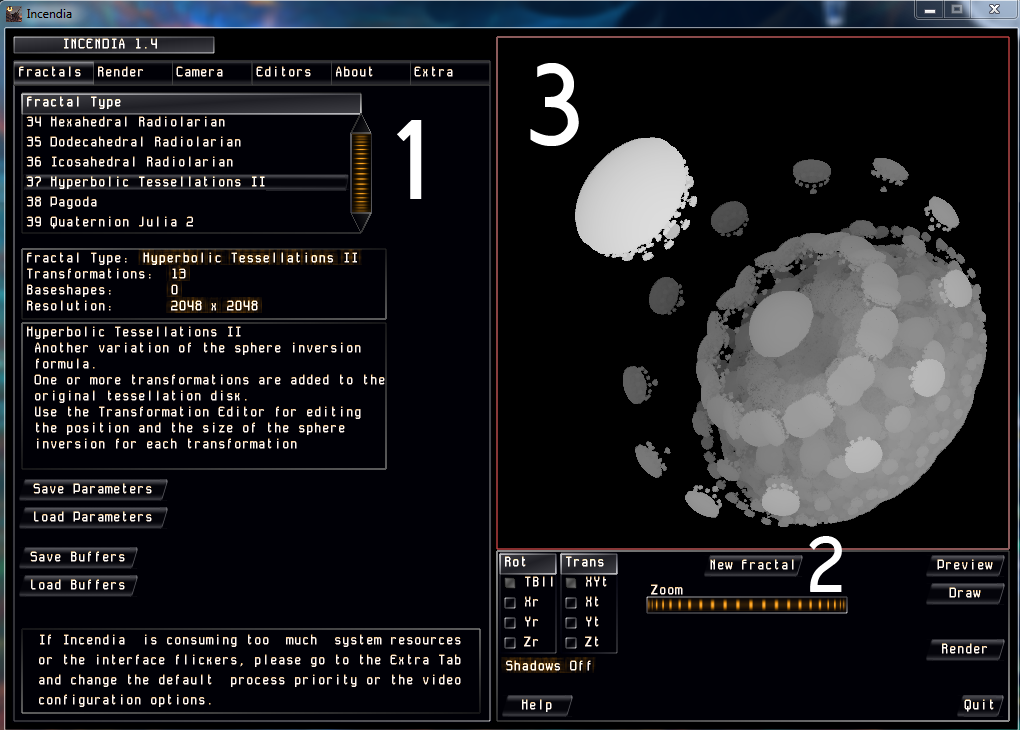
Upon doing so you should see the window pictured above. This is where you'll pick what kind of fractal you'll be rendering. What you'll want to do here is pick a fractal formula from the "Fractal Type" list (1) and then click "New Fractal" (2) which will randomize the shape. Repeat steps (1) and (2) until you get something you like.

By clicking on the display (3) and dragging the cursor you'll be able to rotate (left mouse button) or pan (right mouse button) the fractal. Zooming in and out is done by either the slider below of the scroll button on your mouse.


Next, go to the "Editors" tab (1) and click on "Edit" (2) and the on the "New" button (3). You'll see a whole bunch of stuff appear. Do not worry, as we'll use only the most important of them this time. Select the "Points" option (4) to see your fractal from the way you have set it to be. DO NOT TRY TO PAN OR ROTATE FROM HERE, as clicking and dragging do a completely different job here (which, again, won't be covered in this tutorial.).

Afterwards, explore and pick a baseshape from the list (5). This is the model that's going to be iterated, following your fractal's formula. By changing the value of the "Depth" slider (6) you choose how many times that shape will repeat itself. If you don't have a very powerful computer and/or enough time for rendering, I suggest keeping it below 10. When you're done it is very important to set the "Panels" option back to "Vector".


Now, go to the "Render" tab and click on the "Preview" button below the display (sorry, no number here). You will see a preview of your fractal, hence the name, with the applied default textures. Both the ambient lighting and diffuse reflection (1) have the same set of materials so feel free to play around with them until you find the perfect match for your 3D fractal.


After you're done head over to the "Camera" tab. Not much to do here, except change the light direction (1) and and the resolution and anti-aliasing of the final image you're going to export. As, you can see, I personally prefer to work with the highest possible and I suggest you do that too, because it doesn't affect the render time significantly. Now you can finally hit "Render" and watch the magic happen, as a fractal is being born.

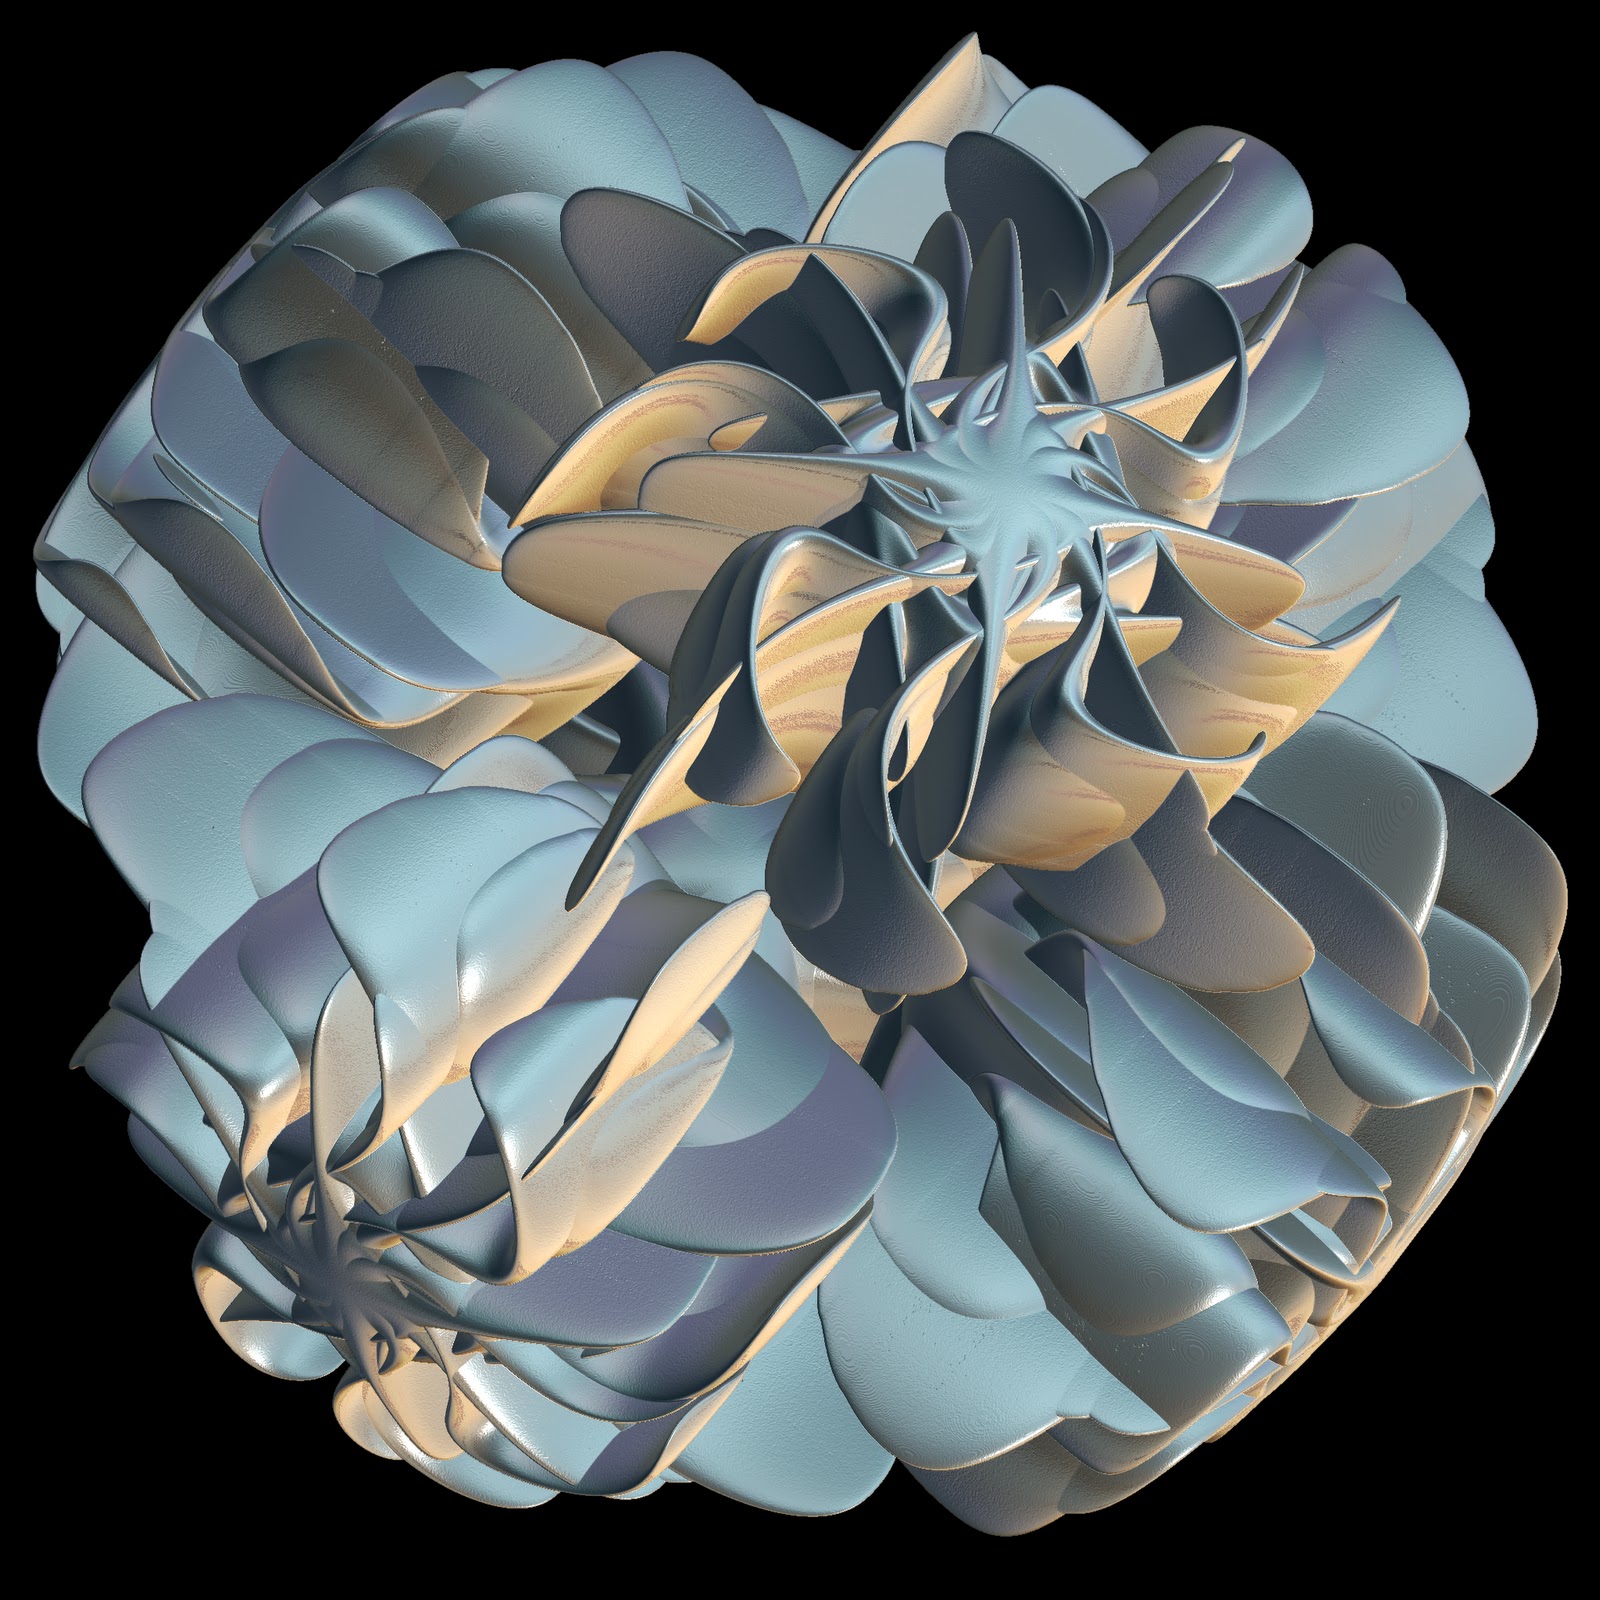
After some time, it you've decided it's good enough, go back to the "Render" tab and export the result as an image file by either picking "Save Bitmap" or "Save PNG" (I personally prefer bitmap). Congratulations!!! You have just made your first fractal! Here is mine:

Thanks for reading! Hope you enjoyed it and goodnight!
Friday, 4 February 2011

More 3D Fractals

Again, I'm uploading fractals. Unfortunately, because of techical reasons, I won't be able to show everything I meant to share. It seems the server decided to hate one of the pictures and simply gives me a "server rejected" message. I'll try to investigate the cause but if any of you knows anything about why an image would not be allowed to be uploaded, feel free to share the info.


Usually, after I'm done with rendering and exporting, I edit the image in Photoshop, adjusting various settings and playing around with the sliders and variables.  The software's different types of adjustment layers makes it much easier to experiment on multiple levels, without the fear of having to start all over again of a serious mistake is made.

As you can see with these two, a hue/saturation and a color balance layers can make a huge difference.

The top one didn't turn out to be as good, because it needed to be blurred in order to make the unrendered parts less visible, since it was exported at an earlier rendering stage.


More sharpness, warmer and more vibrant colors and the fact that it's completely rendered, made this second edit of the fractal much more eye-pleasing than the first one.


This last one is pretty lame but I'm uploading it anyways.


All of the above were made using Incendia 1.3. If you're interested, you can check out it's official site here.

Wednesday, 2 February 2011

Some Fractals

Well, I guess it's time for my first actual post, that is about something.
I am a fan of fractals and fractal art and I find the whole science behind it completely stunning!

If you don't know what fractals are you can always check good old Wikipedia.  If even after the article you still have no idea what they are, they're basically a geometric shape that's iterated (repeated) lots and lots of times while following a certain set of rules (or rather a mathematical formula). Sorry, but that's the simplest (and not very precise) explanation I could come up with.
The amazing thing about fractals is that they're LITERALLY infinite. Every time you zoom a portion of a fractal you keep revealing more and more details and the only thing, which limits you to do that zooming for all eternity are the technical limits of the machine, rendering the fractal.

The ones I'm about to show you below are actually 3D fractals. They're slightly different than conventional 2D ones (besides the fact that they're three-dimensional) and are "modeled" using different techniques but can look just as awesome, nonetheless.

Sometimes I like to play around with fractal software and experiment with different formulas and settings. If I like the result I render it and save it on my HDD. Here are some of my stuff:


The ones below are not completely rendered, because they're too complex and require waay too much time to fully complete and my machine isn't exactly a supercomputer, you know.


 ^This one for example, took more than 16 hours to get to THIS state. As you can see by the ground and some of the "towers" this is far from being completely rendered but I saved it anyways.


 The software I used to make these 3D fractals is Incendia 1.3 (only the second one was made with the newest version-1.4) and it's a small, freeware program you can download from here.